信息来源于:互联网 发布于:2022-04-15

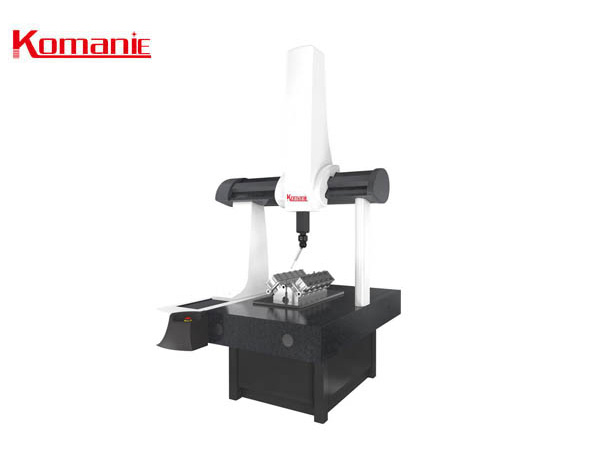
How to adjust the Z-axis balance of the CMM of the image measuring instrument? The Z-axis balance of the measuring machine is divided into heavy hammer and pneumatic balance, which are mainly used to balance the weight of the Z-axis and make the Z-axis drive smoothly. If the air pressure balance switch is operated by mistake, the Z axis will be unbalanced. Processing method:
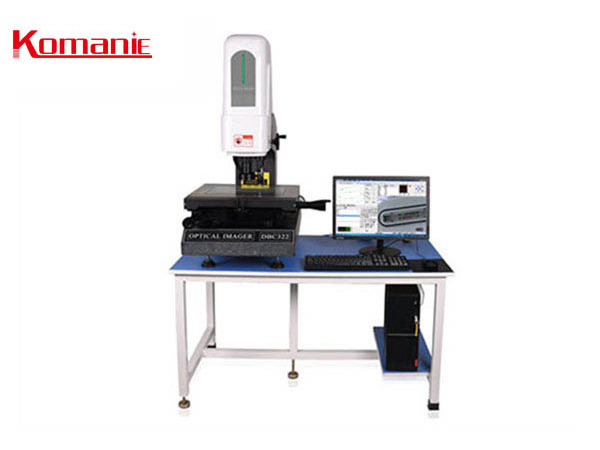
Basic information on optical measurement of manual image measuring instruments? Optical measurement is a high-tech combination of optoelectronic technology and mechanical measurement. Borrowing computer technology, fast and accurate measurements can be achieved. It is convenient to record, store, print, query and so on. According to reports, optical measurement is mainly used in modern industrial inspection, mainly to detect whether the product's geometric tolerance and numerical aperture are qualified.

Scanning wavelength optical measurement solutions for manual image measuring instruments? The use of one or more optical power meters in combination with a Tunable Laser Source (TLS) enables optical power versus wavelength measurements. This type of measurement is often used to determine the ratio of the input power to the output power of the device under test, which is called insertion loss and is measured in dB. When the TLS tunes the wavelength within the selected range, the power meter will periodically sample the power at the specified number of measurement points.
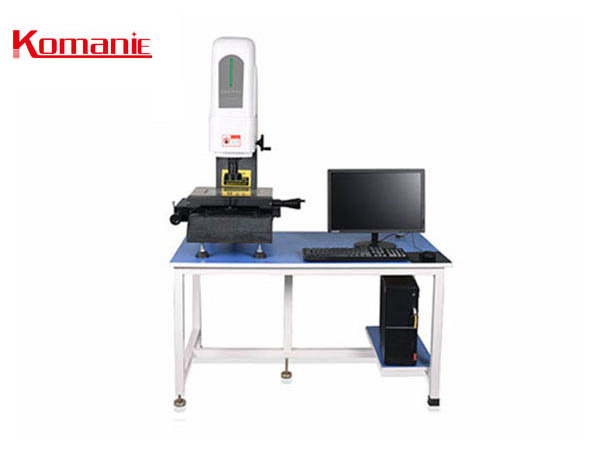
Manual image measuring instrument introduction What is optical measurement? Optical measurement is a high-tech combination of optoelectronic technology and mechanical measurement. Borrowing computer technology, fast and accurate measurements can be achieved. It is convenient to record, store, print, query and so on. According to reports, optical measurement is mainly used in modern industrial inspection, mainly to detect whether the product's geometric tolerance and numerical aperture are qualified.
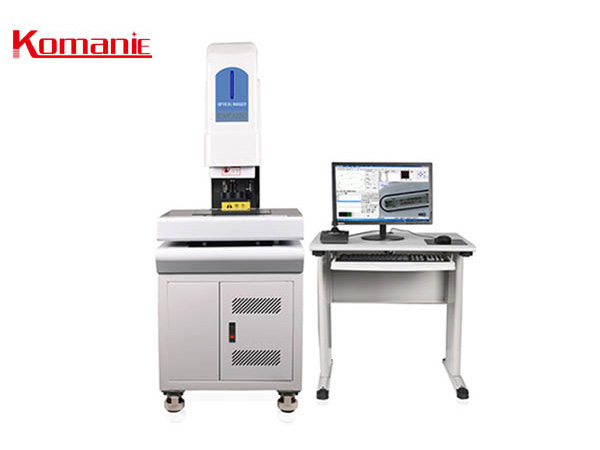
Image measuring instrument is built on the basis of CCD digital image, relying on computer screen measurement technology and powerful software capabilities of spatial geometric operations. After the computer is installed with the special control and graphic measurement software, it becomes the measurement brain with the soul of the software, which is the main body of the entire device. So how to choose accessories for the image measuring instrument?

Image measuring instruments are widely used in machinery, electronics and instruments. Used to measure two-dimensional dimensions. Widely used in various precision industries. Our company is mainly used for the dimensions and angles of components that are difficult or impossible to measure with calipers and angle rulers but play an important role in assembly, such as silicone, circuit board creepage distance, electrical clearance, control panel The light holes, certain sizes of plastic parts, etc., can also be used to take pictures of certain parts and components to analyze the cause of failure. What are the requirements for the installation site of image measuring instruments?
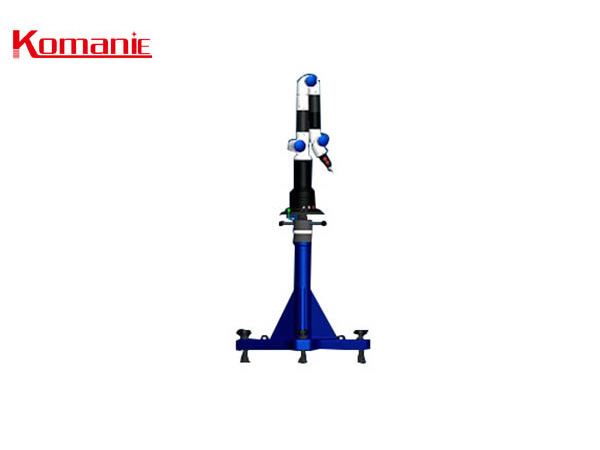
The image measuring instrument is a high-precision high-precision camera composed of a high-resolution CCD color lens, a continuously variable magnification objective lens, a color display, a video cross-hair display, a precision grating ruler, a multi-function data processor, data measurement software and a high-precision workbench structure. Optical image measuring instruments. The articulated arm is a portable three-coordinate measuring instrument. What is the function of the articulated arm system of the video measuring instrument?
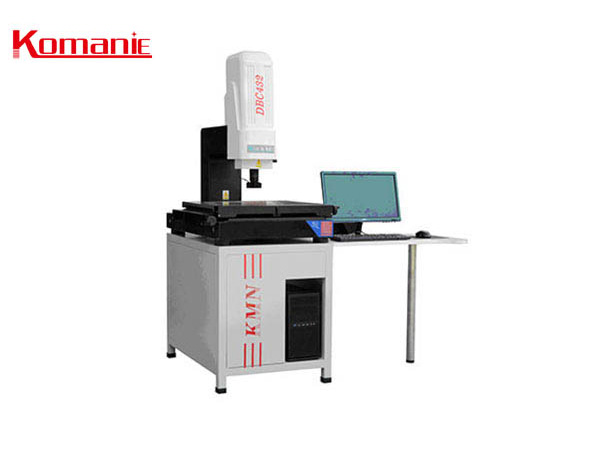
Video measuring instrument About the inspection and repair method of measuring instruments? Instruments and meters are used in various production enterprises, and are more widely used in electronic production enterprises. Many electronic products must be tested by instruments before they leave the factory, similar to the detection of electronic components by instruments such as image measuring instruments. Instrument detection can reduce the probability of scrap and defective products, and can improve the quality of enterprise products. However, the detection of instrumentation is also very important. Taking electronics companies as an example, several common methods of instrumentation maintenance are briefly described:
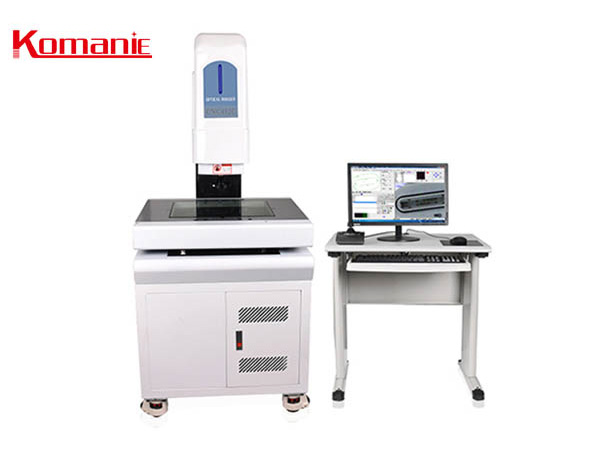
The two-dimensional measuring instrument is also called a two-dimensional measuring instrument, or a video measuring instrument and a video measuring machine. It is used to measure the dimensions of products and molds, or to measure the shape and position tolerances of the measured elements, such as positional degree. , concentricity, straightness, contour, roundness and dimensions related to the datum, etc. The second element is mainly used for two-dimensional plane detection of thinner products (such as shrapnel) and smaller products or two-dimensional projection detection of other workpieces.

What is the application of image measuring instrument in metal gear processing? Let's first understand the metal gear, which mainly refers to a component with teeth on the rim that can continuously transmit motion, and also belongs to a kind of mechanical part, which has appeared a long time ago.
About us
- Company exhibition - Company team building - Factory strength - Partner - CertificationsProduct Center
- Optical Image Measuring Instrument - Environmental equipment - Mechanical equipmentNews center
- Company news - Common problem - Industry information
Mobile website

Dongguan Komanie Precision Optical Measurement Technology Co., Ltd. © Copyright Technical Support: Wangyi Technology [GMAP] [BMAP] [Management] [Back to top]